How to Create an Isolated Python Development Environment using venv
How to Create an Isolated Python Development Environment using venv
Why do We Need It!
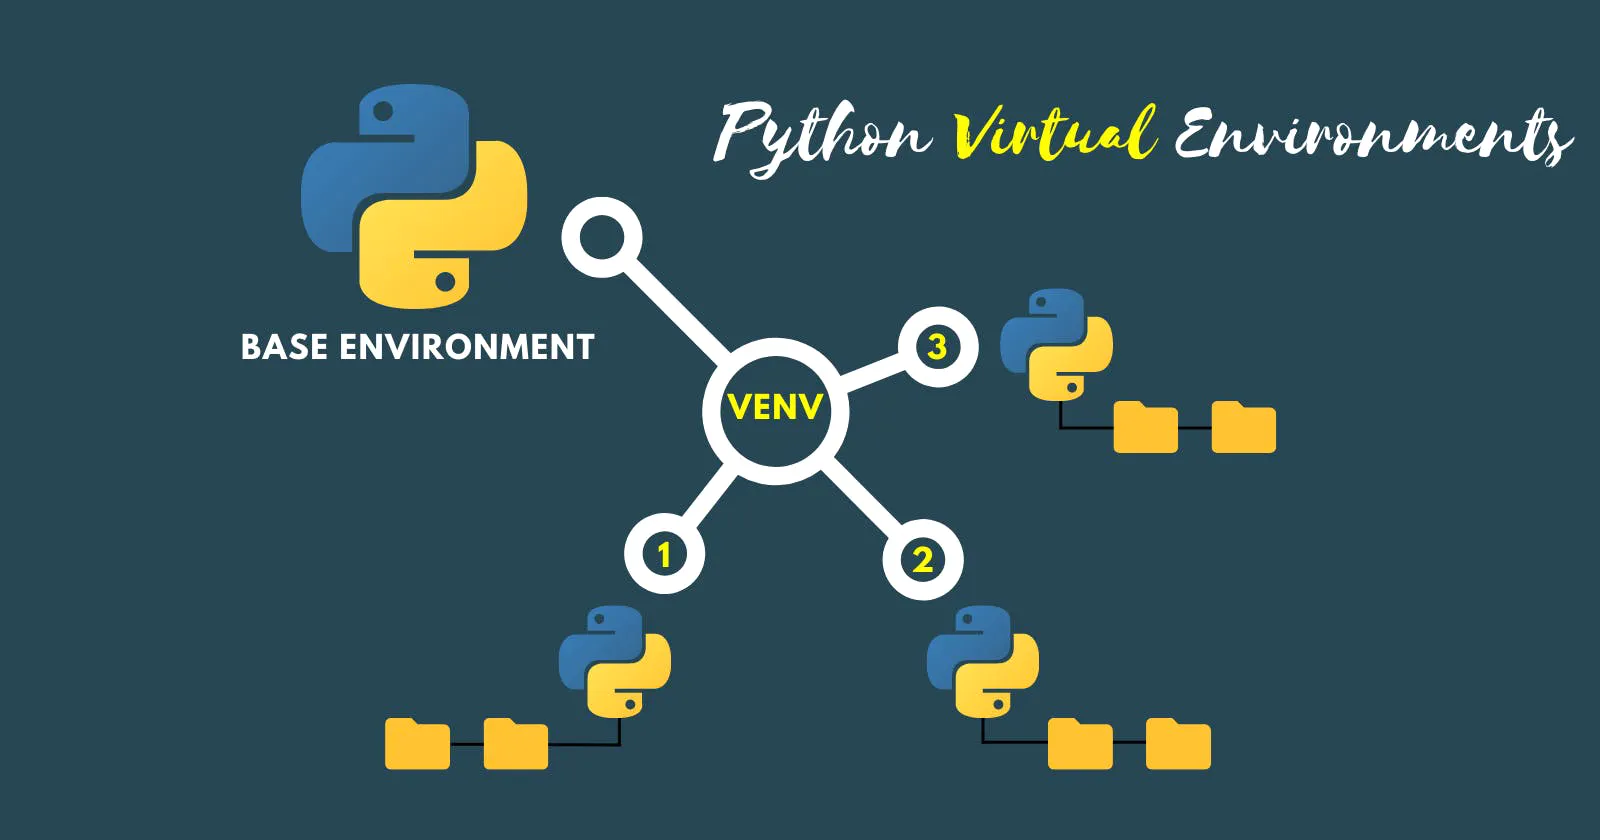
When you work on multiple projects you will need to isolate your Python development environment for each project.
Consider this scenario: you are working on app A, using your system-installed Python and you pip install packageX version 1.0 to your global Python library. Then you switch to project B on your local machine and you install the same packageX but version 2.0, which has some breaking changes between version 1.0 and 2.0.
When you go back to run your app A, you get all sorts of errors, and your app does not run. This is a scenario you can run into when building software with Python. And to get around this, we can use virtual environments.
I’m going to set up the Python virtual environments and we’re going to install all the Python packages into that environment by doing it this way, with the virtual environments,
You can have a separate virtual environment for every Python project if necessary.
How to Install a Virtual Environment
You can install venv using Linux apt-get :
sudo apt-get install python3-venv
To use venv in your project, in your terminal:
- Create a
new projectfolder cdto the project folderRunthe following command:
python3 -m venv <virtual-environment-name>
moalaa@NetDevOps:~$ mkdir myproject
moalaa@NetDevOps:~$ cd myproject/
moalaa@NetDevOps:~/myproject$ python3 -m venv venv
When you check the new myproject folder, you will notice that a new folder called venv has been created.
venv is the name of our virtual environment, but it can be named anything you want.
moalaa@NetDevOps:~/myproject$ ll
total 12
drwxrwxr-x 3 moalaa moalaa 4096 Dec 31 23:25 ./
drwxr-xr-x 12 moalaa moalaa 4096 Dec 31 23:21 ../
drwxrwxr-x 6 moalaa moalaa 4096 Dec 31 23:25 venv/
moalaa@NetDevOps:~/myproject$ cd venv

moalaa@NetDevOps:~/myproject/venv$ ll
total 28
drwxrwxr-x 6 moalaa moalaa 4096 Dec 31 23:25 ./
drwxrwxr-x 3 moalaa moalaa 4096 Dec 31 23:25 ../
drwxrwxr-x 2 moalaa moalaa 4096 Dec 31 23:25 bin/
drwxrwxr-x 2 moalaa moalaa 4096 Dec 31 23:25 include/
drwxrwxr-x 3 moalaa moalaa 4096 Dec 31 23:25 lib/
lrwxrwxrwx 1 moalaa moalaa  3 Dec 31 23:25 lib64 -> lib/
-rw-rw-r-- 1 moalaa moalaa  70 Dec 31 23:25 pyvenv.cfg
drwxrwxr-x 3 moalaa moalaa 4096 Dec 31 23:25 share/
moalaa@NetDevOps:~/myproject/venv$
Activating the Virtual Environment
To activate your virtual environment, run the code below:
source venv/bin/activate
moalaa@NetDevOps:~/myproject$ source venv/bin/activate
(venv) moalaa@NetDevOps:~/myproject$
(venv) moalaa@NetDevOps:~/myproject$
List packages
Check the list of packages installed in our new virtual environment by running the code below in the activated virtual environment:
pip list
(venv) moalaa@NetDevOps:~/myproject$ pip list
Package    Version
------------- -------
pip      20.0.2
pkg-resources 0.0.0
setuptools  44.0.0
(venv) moalaa@NetDevOps:~/myproject$
Install new libraries
To install new libraries, you can easily just pip install the libraries.
pip install django
(venv) moalaa@NetDevOps:~/myproject$ pip install django
Collecting django
 Downloading Django-4.1.4-py3-none-any.whl (8.1 MB)
   |████████████████████████████████| 8.1 MB 25.2 MB/s
Collecting backports.zoneinfo; python_version < "3.9"
 Using cached backports.zoneinfo-0.2.1-cp38-cp38-manylinux1_x86_64.whl (74 kB)
Collecting sqlparse>=0.2.2
 Using cached sqlparse-0.4.3-py3-none-any.whl (42 kB)
Collecting asgiref<4,>=3.5.2
 Downloading asgiref-3.6.0-py3-none-any.whl (23 kB)
Installing collected packages: backports.zoneinfo, sqlparse, asgiref, django
Successfully installed asgiref-3.6.0 backports.zoneinfo-0.2.1 django-4.1.4 sqlparse-0.4.3
(venv) moalaa@NetDevOps:~/myproject$
Installed libraries
You can view all installed libraries by using pip list:
(venv) moalaa@NetDevOps:~/myproject$ pip list
Package      Version
------------------ -------
asgiref      3.6.0
backports.zoneinfo 0.2.1
Django       4.1.4
pip        20.0.2
pkg-resources   0.0.0
setuptools     44.0.0
sqlparse      0.4.3
(venv) moalaa@NetDevOps:~/myproject$
Generate requirements.txt
Or, You can generate a text file requirements.txt listing all your project dependencies by running the code below:
pip freeze > requirements.txt
(venv) moalaa@NetDevOps:~/myproject$ pip freeze > requirements.txt
(venv) moalaa@NetDevOps:~/myproject$
(venv) moalaa@NetDevOps:~/myproject$ ls
requirements.txt venv
(venv) moalaa@NetDevOps:~/myproject$ cat requirements.txt
asgiref==3.6.0
backports.zoneinfo==0.2.1
Django==4.1.4
sqlparse==0.4.3
(venv) moalaa@NetDevOps:~/myproject$
Why are the requirements files important to your projects?
When sharing your code/project with anyone without venv folder, he could just run the code below to install all your dependencies within their own copy of the project:
pip install -r requirements.txt
(venv) moalaa@NetDevOps:~/myproject$ pip install -r requirements.txt
Requirement already satisfied: asgiref==3.6.0 in ./venv/lib/python3.8/site-packages (from -r requirements.txt (line 1)) (3.6.0)
Requirement already satisfied: backports.zoneinfo==0.2.1 in ./venv/lib/python3.8/site-packages (from -r requirements.txt (line 2)) (0.2.1)
Requirement already satisfied: Django==4.1.4 in ./venv/lib/python3.8/site-packages (from -r requirements.txt (line 3)) (4.1.4)
Requirement already satisfied: sqlparse==0.4.3 in ./venv/lib/python3.8/site-packages (from -r requirements.txt (line 4)) (0.4.3)
(venv) moalaa@NetDevOps:~/myproject$
Note: That it is generally not advisable to share your
venvfolder, and it should be easily replicated in any new environment.
Deactivating the Virtual Environment
To deactivate your virtual environment, simply run the following code:
deactivate
(venv) moalaa@NetDevOps:~/myproject$ deactivate
moalaa@NetDevOps:~/myproject$

